Water pouring over the gutter edge during rain is easy to spot. A blocked downpipe can be less obvious, but it causes the same trouble: water backs up, spills onto walls and can find its way into brickwork, fascias and foundations. Knowing how to clear downpipe blockages safely can help you deal with a small problem early, without turning a wet-weather nuisance into costly damp damage.
The main rule is simple: do not take unnecessary risks on a ladder. Most blockages can be checked from ground level, and if the obstruction is higher up or the gutter is full of debris, professional clearance is the safer option.
Signs your downpipe is blocked
A downpipe should carry rainwater freely from the gutter to the drain at ground level. When it cannot, water has to go somewhere else. During rainfall, look for water overflowing from the gutter near the downpipe outlet, rather than flowing towards it. You may also see a steady drip or a wet patch on the wall long after the rain has stopped.
At ground level, check whether water is coming out of the downpipe shoe, backing up around the gully or running across the path. Staining on render, moss growth around guttering and peeling paint on timber fascias are also warning signs that rainwater has been escaping for some time.
Do not assume every overflow means the downpipe itself is blocked. The gutter may be packed with leaves, moss, roof debris or nesting material, preventing water from reaching the outlet. Equally, the underground gully or drain may be blocked, even when the downpipe is clear. Identifying where the water stops is the first job.
Before you clear a downpipe blockage
Choose a dry day if possible. You will be able to see what you are doing, and any water left inside the pipe is less likely to pour out unexpectedly. Wear gloves and eye protection. Old gutter debris is often a mix of wet leaves, moss, mud and bird droppings, so it is not something to handle with bare hands.
Start with a visual check from the ground. Look at the bottom of the downpipe, the shoe or bend that directs water into the drain, and any accessible joints. Many blockages form at bends, where compacted leaves and silt settle. If there is a removable shoe, hopper or inspection section, this is usually the safest place to begin.
Keep clear of any electrical fittings, damaged pipework or unstable paving. If the downpipe is loose, cracked or pulling away from the wall, forcing tools through it can make the repair more expensive. A clear pipe is no use if its joints are left leaking afterwards.
How to clear downpipe blockages from ground level
Remove debris at the bottom first
Place a bucket or old bag below the downpipe before opening a removable shoe or low-level section. Carefully remove visible leaves, moss and compacted sludge by hand. Often, the blockage is close to the bottom and this may be enough to restore flow.
If a downpipe runs directly into a gully, lift the gully grate if it is safe to do so and clear leaves from around the outlet. Do not push debris further into the drain. Scoop it out and dispose of it with garden waste where appropriate.
Use a hose to test the flow
Once the lower section is clear, use an ordinary garden hose to run water into the downpipe from a safe, accessible point. If you can reach a hopper at ground level, feed the hose in gently and turn the water on gradually. You are checking whether the pipe drains freely, not trying to force a stubborn blockage through with high pressure.
If water immediately backs up, stop. The blockage may be higher in the pipe, or there may be a tight build-up around a bend. Forcing more water into a full downpipe can send it over the gutter, against the wall or through weak joints.
Use flexible rods with care
Flexible drain rods can help with a blockage in an accessible vertical pipe. Feed them in slowly from the bottom and use gentle pressure. Do not ram them upwards or twist aggressively, particularly on older plastic downpipes. The aim is to loosen soft organic debris, not damage the pipe or separate a joint.
If the rod will not pass, withdraw it rather than forcing it. A solid obstruction, a badly compacted mass of moss or a problem at the gutter outlet may need a professional inspection. This is where the job can become unsafe for a homeowner, especially if access to the top of the downpipe is required.
Clear the gutter as well as the downpipe
A downpipe often blocks because the gutter above it has been neglected. Clearing only the pipe can provide a short-term fix, but the next heavy shower may wash another load of leaves and moss straight into the outlet.
The gutter outlet is a common pinch point. Small pieces of moss collect around it, then trap larger debris until water can barely pass. The gutter may look clear from below while a compacted blockage is sitting directly over the outlet.
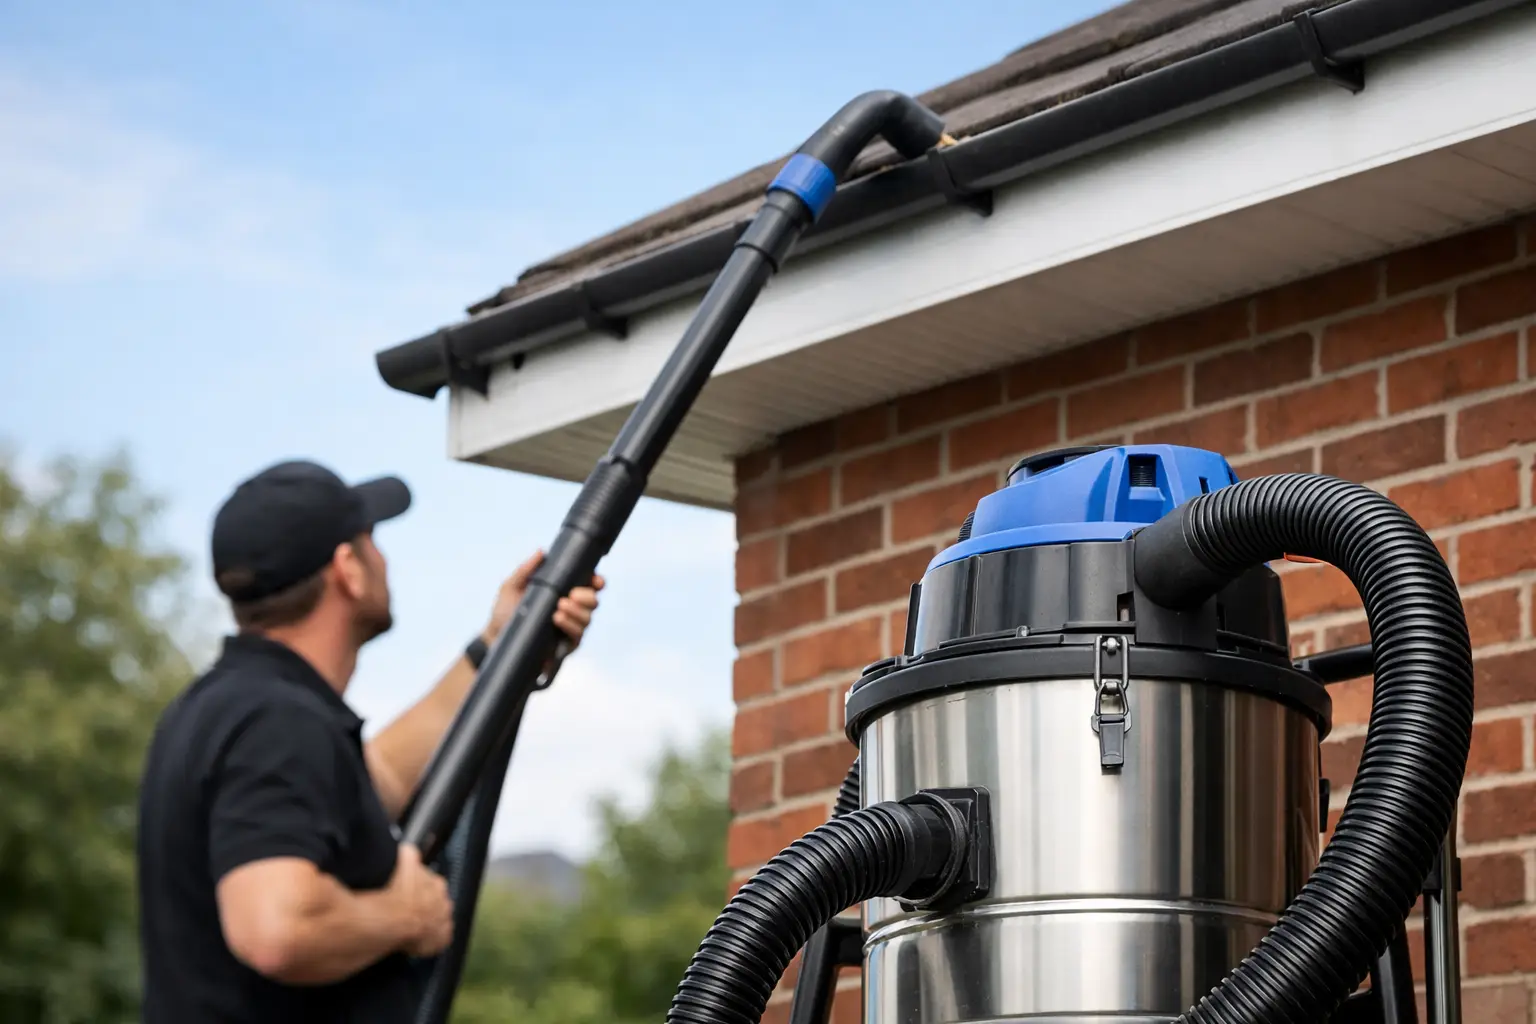
This is why a full gutter clearance is usually the sensible answer. Professional gutter vac equipment removes organic debris from the gutters from ground level and allows the system to be checked properly, without anyone climbing onto a ladder simply to reach an outlet. McQueen’s Exterior Cleaning uses this approach to clear gutters and downpipes safely while helping protect the property from repeat overflows.
Avoid these common mistakes
Do not use harsh chemical drain cleaners in a downpipe. They are unlikely to shift a mass of wet leaves and moss, can splash back, and may cause problems in connected drains. The same applies to pouring boiling water into plastic guttering or pipes.
Be cautious with pressure washers. They can be useful in the right hands, but a powerful jet can force debris into underground drainage, dislodge gutter joints or drive water behind damaged fascias. A blockage that needs force to move is worth inspecting properly before pressure is applied.
Most importantly, do not lean a ladder against guttering or work at height without the right equipment, footing and experience. A fall can happen in seconds, particularly on wet ground. The money saved on a small clearance job is not worth the risk of serious injury.
When the problem is not the downpipe
If water runs through the downpipe but pools at its base, the issue may be the gully or surface water drain. Check whether the gully is full of leaves and silt. If it is clear but water still will not drain away, there may be a blockage below ground that needs separate attention.
If water is leaking from a joint halfway down the pipe, inspect the bracket and connection. A displaced or cracked section can look like a blockage because water is escaping before it reaches the bottom. Replacement parts are usually straightforward, but the gutter above must also be flowing correctly or the pressure on the joint will continue.
Repeated blockage in the same place can point to a gutter that is incorrectly aligned, a poorly positioned outlet or heavy moss growth from the roof. In these cases, clearing the system is necessary, but it may not be the full solution. A thorough inspection can prevent the same call-out after the next spell of rain.
How often should downpipes be checked?
For most homes, a check and gutter clearance at least once a year is a practical baseline. Properties near trees, homes with mossy roofs, and buildings exposed to frequent wind and rain may need attention twice yearly. Autumn is an obvious time, but spring clearance can be just as useful after winter storms and heavy rainfall.
Landlords should be particularly cautious with empty properties or homes where gutters are difficult to view from the ground. A small overflow can continue unnoticed for months, leaving staining, damp and decayed timber behind it.
A downpipe is a simple part of the property, but it has an important job. Keeping it clear before the rain arrives is one of the easiest ways to keep water where it belongs: moving safely away from your home.
Leave a Reply